
Getting your website approved for Google AdSense can feel tricky, but it’s possible if you follow the right steps. You want to make sure everything is perfect.
Here is a simple checklist to guide you.
1. Content Quality
Your articles are the most important part. Google wants to see that your site is helpful and unique.
- Be Original: Make sure all your content is your own. Never copy from other websites.
- Write Enough: You should have at least 25 to 30 quality articles on your site before you apply.
- Avoid Low-Value Content: Avoid pages with little text and fully AI Written Content
- No Mistakes: Check your spelling and grammar. Your posts should be professional.
- Choose Correct Niche: Do not write about topics that AdSense doesn’t allow, like gambling or violence
2. Create the Essential Pages
Every professional website needs these pages to build trust with visitors and Google.
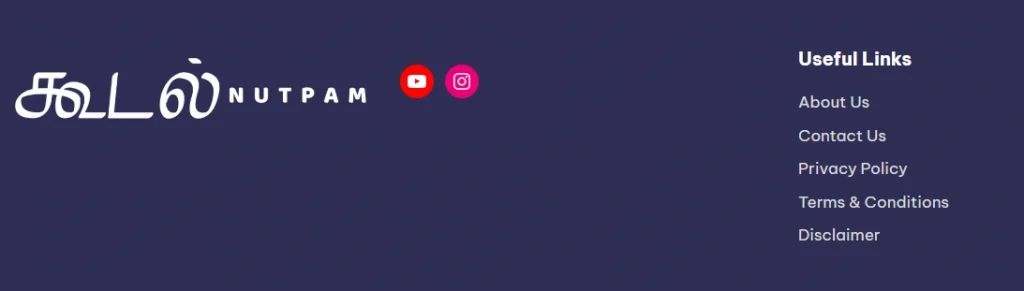
- About Us Page: Tell your visitors who you are and what your website is about.
- Contact Us Page: Give your readers a way to email you or send a message.
- Privacy Policy Page: This is a requirement. You must explain how you handle visitor data.
- Terms & Condition Page: You can add it to clarify the rules for people using your site..
- Disclaimer Page: It is useful if your site includes affiliate links or reviews.
3. Make Your Site Easy to Use
A good experience keeps visitors on your site longer. It should be simple and easy to navigate.
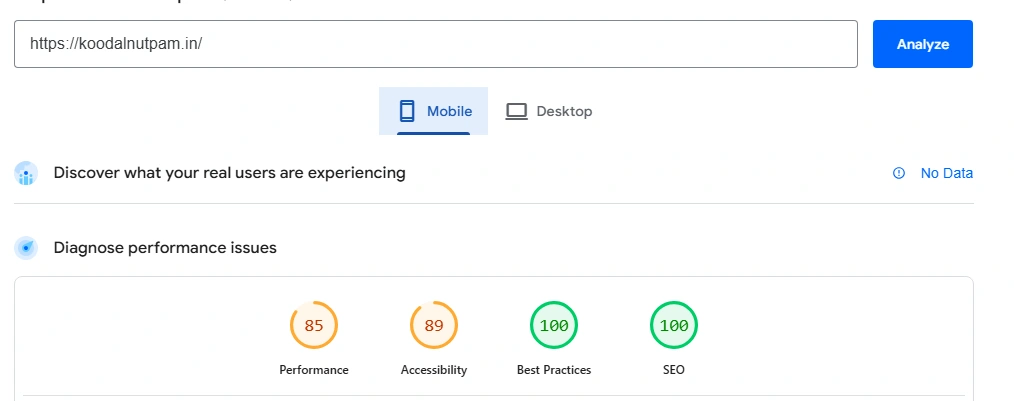
- Use a Clean Design: A simple, professional look is best.
- Make it Mobile-Friendly: Your site must work perfectly on phones.
- It Must Load Fast: Slow websites frustrate users.
- Have a Clear Menu: People should be able to find what they’re looking for easily.
- No Broken Links: Make sure all your links work and remove any unfinished pages.
4. Get Visitors
Google wants to see that your site is active and has real visitors.
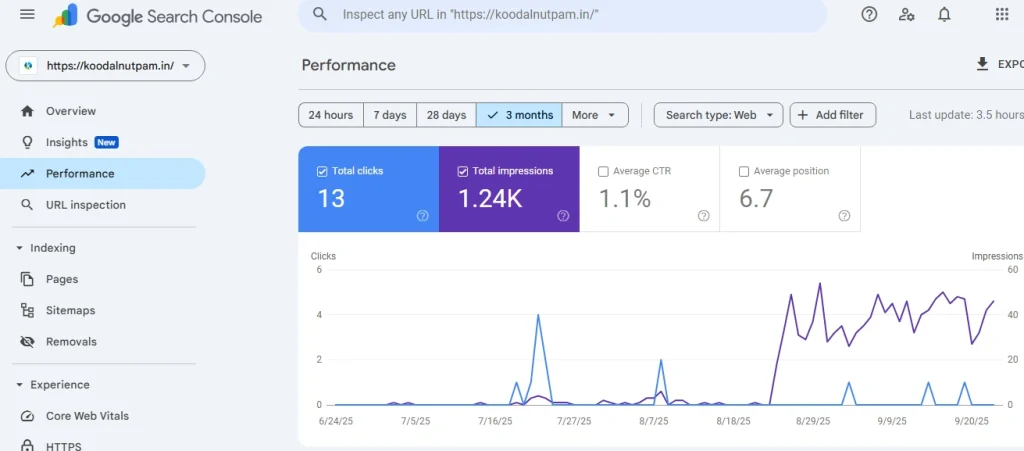
- Build Some Traffic: Try to get some visitors from search engines or social media.
- Don’t Rush It: It’s a good idea to work on your site for at least 1 to 3 months before applying.
- No Paid Traffic: Do not use paid ads or bots to increase your traffic just to get approved.
5. Check Your Technical Setup
These technical details show that your site is serious and well-managed.
- Use a Custom Domain: A name like
https://koodalnutpam.in/looks more professional than a free subdomain. - Make Your Site Secure (HTTPS): An SSL certificate is essential for security.
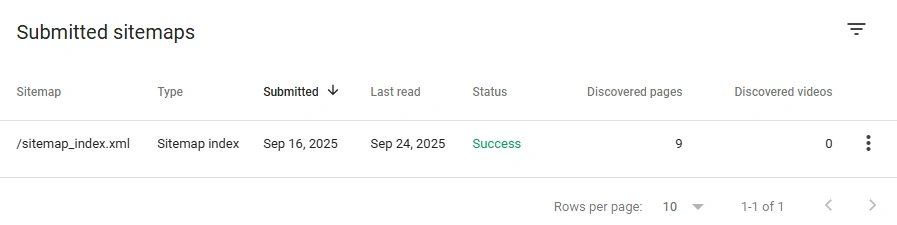
- Submit a Sitemap: A sitemap helps Google find all your pages. You can do this through Google Search Console.
6. Use Analytics and Basic SEO
These tools help you understand your visitors and help Google understand your site.
- Set up Google Analytics: This is optional but recommended to track your visitors.
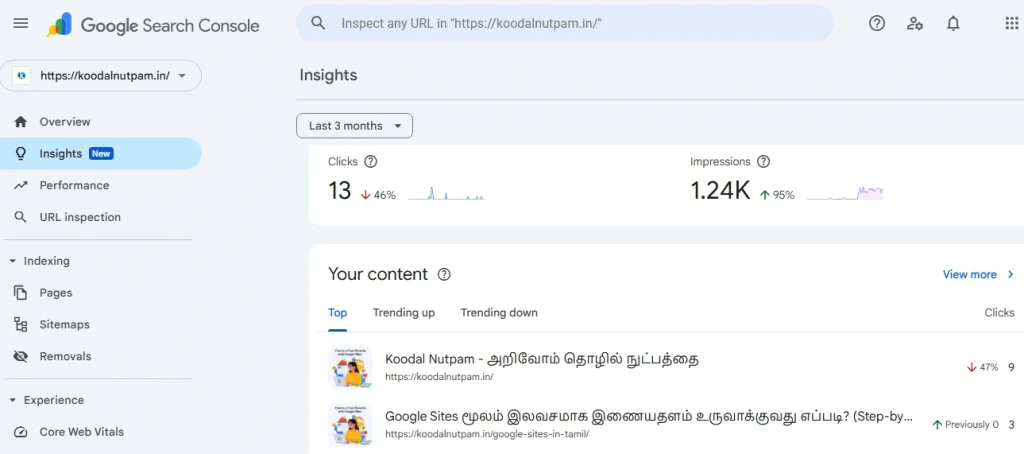
- Use Google Search Console: This free tool helps you find and fix any technical errors on your site.
- Do Basic SEO: Use relevant keywords in your posts, titles, and image descriptions.
7. Follow the AdSense Policies
To get approved, you must follow Google’s rules.
- Remove Other Ads: Take off any ads from other ad networks before you apply.
- No Annoying Pop-ups: Avoid using intrusive pop-ups that ruin the user experience.
8. Do a Final Check of Your Site
Before you hit “apply,” do one last review.
- Test Everything: Visit your site like a new user. Click on links and test your contact form.
- Remove Placeholder Text: Make sure you have replaced all dummy text like “lorem ipsum” with real content.
- Backup Your Site: It’s always a good idea to have a backup before making changes.
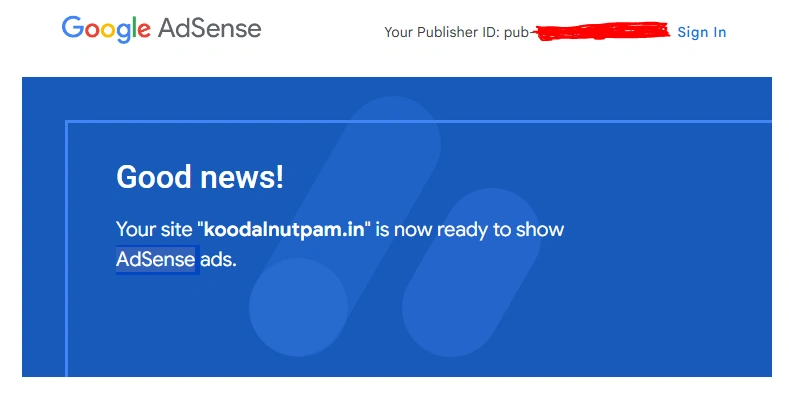
9. The Application Process
When your site is ready, it’s time to apply.
- Sign Up: Use your Google account to apply on the AdSense website.
- Add the Code: AdSense will give you a piece of code to place on your site.
- Be Patient: The review can take a few days to a few weeks. Avoid making big changes to your site while you wait.
10. Tips for Success
- Give Value: Focus on providing value to your audience rather than just meeting minimum requirements
- If rejected: review the AdSense rejection email for specific issues, fix them, and reapply.